Are you going to start your new welding project? Have you planned to go for the Aluminum welding this time? Okay, that sounds great!
Do you know welding Aluminum would be the most challenging task for you in the future? Even the welders with the most professional skills sometimes feel difficulty during the job because the lightweight Aluminum is quite hard to hold. But getting complete knowledge about the technique would be helpful for you.
Most people create confusion between steel welding and Aluminum welding but remember, they both are different.
The amazing fact about this welding is that the process can be mechanized and manual, so the choice is yours that you want to opt for your assignment.
So for your convenience, we have written this informative guide that will help you to learn how to weld Aluminum and how the process can be easily carried out with great results. Let’s get detailed knowledge about this hot topic of discussion!
Steps Involved in Aluminum Welding
Welding refers to the joining of two base materials to create something new. It can either be done by the use of electrodes or through shielded gas like inert gas such as tungsten.
But, here we are specifically discussing Aluminum welding, which is surely a soft material, and that’s why a little tricky to handle. So how can you make it simple? Just by staying with us!
We have compiled all the important information about how to weld aluminum in the form of these easy steps. Do give them a read and follow them for the successful completion of your project!
Step 1: Gather the Equipment
Gathering the equipment to start the process is the first and foremost step to be done. Without proper equipment, you can’t proceed further.
So, for aluminum welding, you must have TIG or Tungsten Inert Gas welder along with both AC and DC supply. Aluminum welding uses the tungsten electrode for melting the material so that it can be easily welded. Moreover, you can go for the Metal Inert Gas welder, but this is not a good method to go for beginners.
After getting TIG from a nearby hardware store, it’s time to get an aluminum filler rod that should be clean. The filler rod helps to join the two weld pieces together. Make sure the electrode and the filler have the same size.
Now, it’s time to buy a canister of argon gas that acts as a shielding gas in the welding process. If you add 3% helium to the argon gas, then it will increase the arc capacity.
Step 2: Prepare Yourself
Once you gather all the mandatory equipment for Aluminum welding, you should prepare yourself to start welding.
If you are thinking about making up your mind, then you are already done with this, so now this is high time to wear protective clothing.
For welding, always prefer clothing made with thick cotton fabric along with long sleeves so that you can protect yourself from the adverse effects of UV radiations and the sparks that result from Aluminum welding, especially while using TIG.
Furthermore, not only should the clothing be suitable, but you should also gather all the safety equipment. The safety equipment mainly includes a face mask, welding helmet, safety glasses, and safety gloves. Make sure the gloves are fire-resistant so that they may not catch fire while welding.
For a suitable welding helmet, you can search best products online. The helmet is essential equipment because this not only protects the face but also the eyes, which are the most sensitive organ of the human body.
Always prefer to purchase an auto-darkening welding helmet for aluminum welding because its lens automatically detects the light and changes of its shade.
Step 3: Do a Safety Check On Gathered Equipment
You should gather the equipment which is perfect for use. Improper welding set-up may cause harmful irreversible effects with severe injuries. If you find any part rusty, for example, if the electrodes are corroded, then replace them with clean ones.
Make sure that all the connections are perfectly made, and the wires are not cracked.
Step 4: Clean the Aluminium and Filler Rod
Are you done with equipment and clothing? What should be the next step in welding aluminum? You have to set up the workspace now!
Make sure the Aluminum you are going to weld is properly cleaned. If there is a coat of Aluminum which is a normal thing, then with the help of grinding or wire brushing, you should clean it first. The joints can’t be cleaned with this method, so you can spray the electrical cleaner here.
Once the Aluminum is cleaned, now it’s the turn of the filler rods. This demands rigorous cleaning, so an abrasive cleaning pad is suggested for this purpose. A small quantity of acetone works magically while cleaning the rod.
Step 5: Join the Workpieces and Preheat the Aluminum
Welding is all about joining the workpieces together. Otherwise, a single loose joint may cause bad impacts, especially in the case of TIG welders.
Now, preheat the Aluminum. This is pretty darn easy because you can either use an oven or a propane torch. Applying the heat of 300°F to 400°F will preheat the material and ultimately create a strong bond.
Prefer to work in a properly ventilated area!
Step 6: Practice the Welding Motion
In this step, initially, you have to support the torch with your gloved hand at a certain angle of 10°. Make sure the tip of the tungsten and Aluminum has a maximum distance of 6.4 mm.
Moreover, hold the filler rod at a perpendicular angle and don’t contact the filler with a tip; otherwise, the weld will be affected.
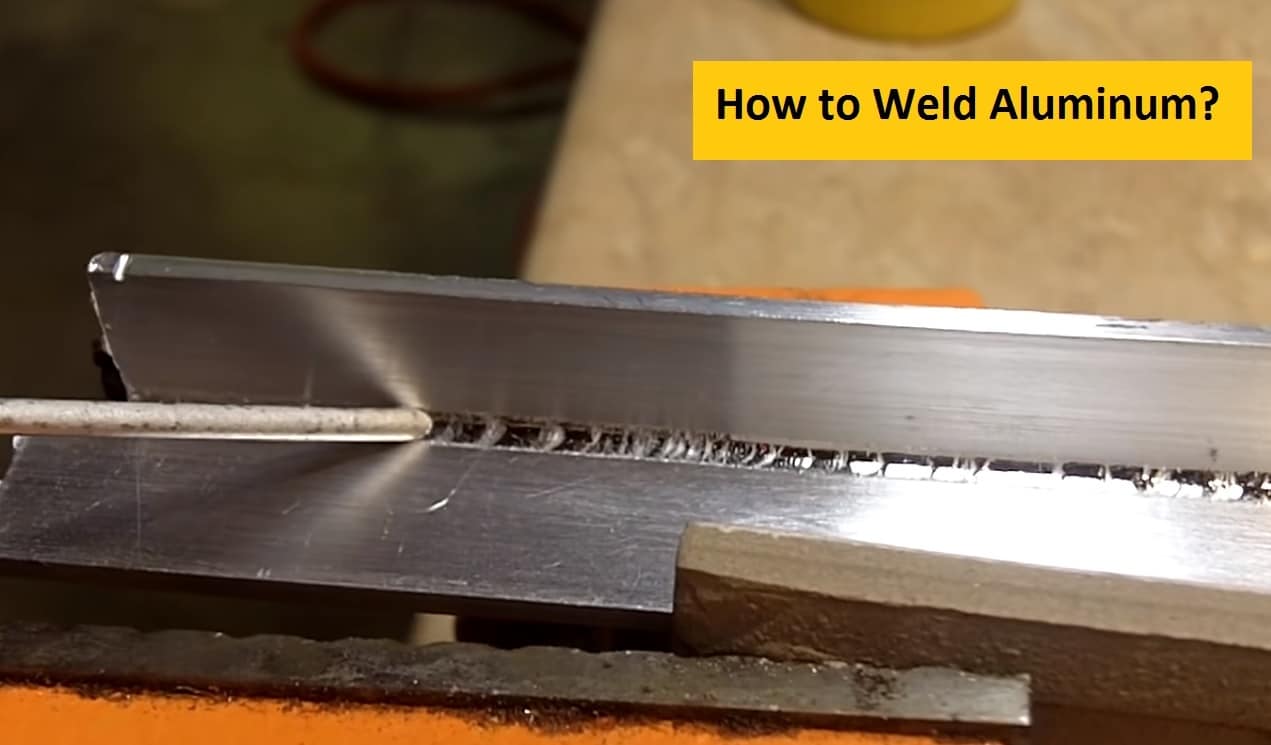
Step 7: Weld the Aluminum
Set the voltage of the welder preferably at 1 amp per 0.001 inch. Get all the tools, especially the tungsten electrode and the other workpiece into the position.
Press the button on the torch to create an electrical arc, and if there is no button, then make one with the help of a foot pedal and create an adequately sized puddle that should not be too big or too small.
To make the overall weld stronger, add an extra filler rod at the start of the weld material. Finally, push the puddle and let off the foot pedal slowly and take the fingers off of the torch button.
Now, you can see incredible results!
Conclusion
Welding Aluminum allows a welder to work with a variety of different projects; only practice and accurate knowledge are required. Hopefully, by following these steps, you can adequately weld the fragile Aluminum.